How to Cook with Enameled Cast Iron: A Beginner's Guide
Oct. 19, 2026
Share:
Dutch Oven Wholesale buyers and home cooks often want one clear answer: how can they use enameled cast iron safely, efficiently, and confidently from the first meal? This beginner's guide explains the tools, cooking steps, heat control, cleaning methods, common mistakes, and buying considerations for enameled cast iron cookware.
Enameled cast iron combines the heat retention of cast iron with a smooth glass-like coating. It is suitable for searing, braising, roasting, baking, simmering, and serving. Unlike bare cast iron, it does not require regular seasoning, but it still needs careful temperature control and gentle cleaning.
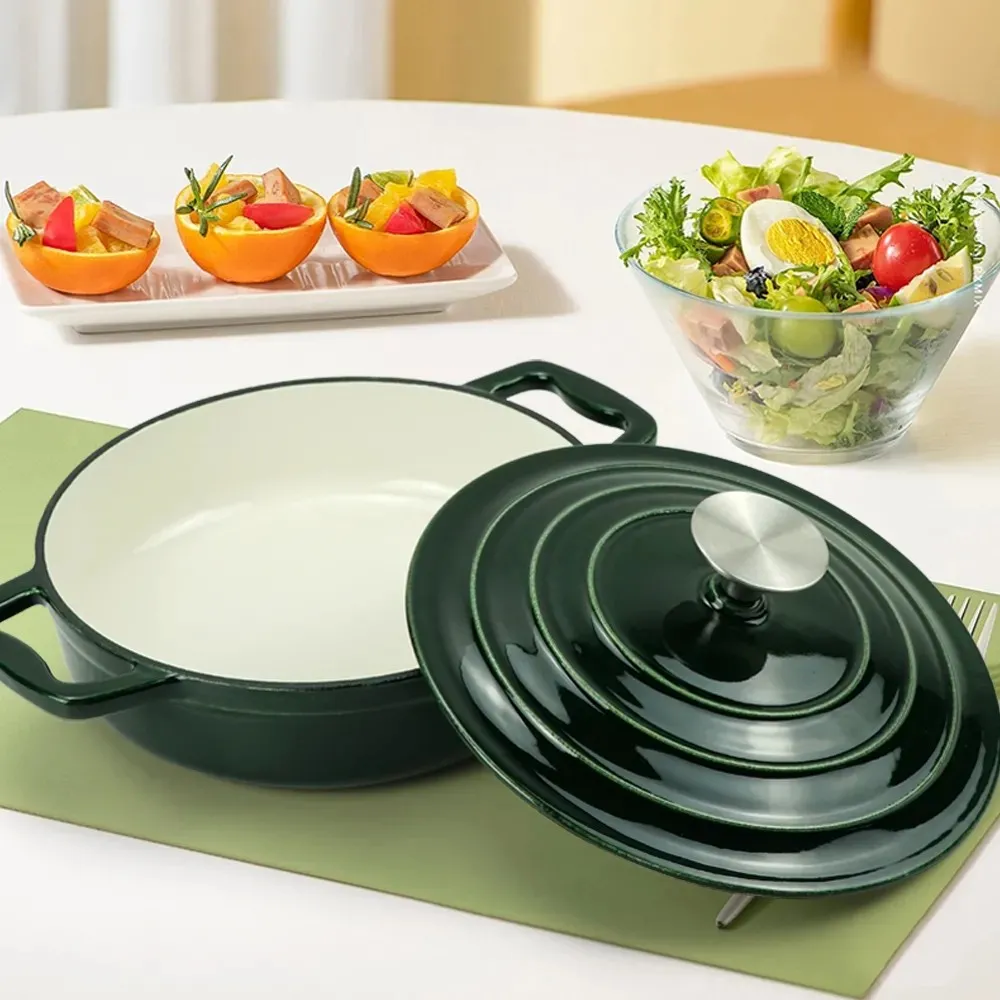
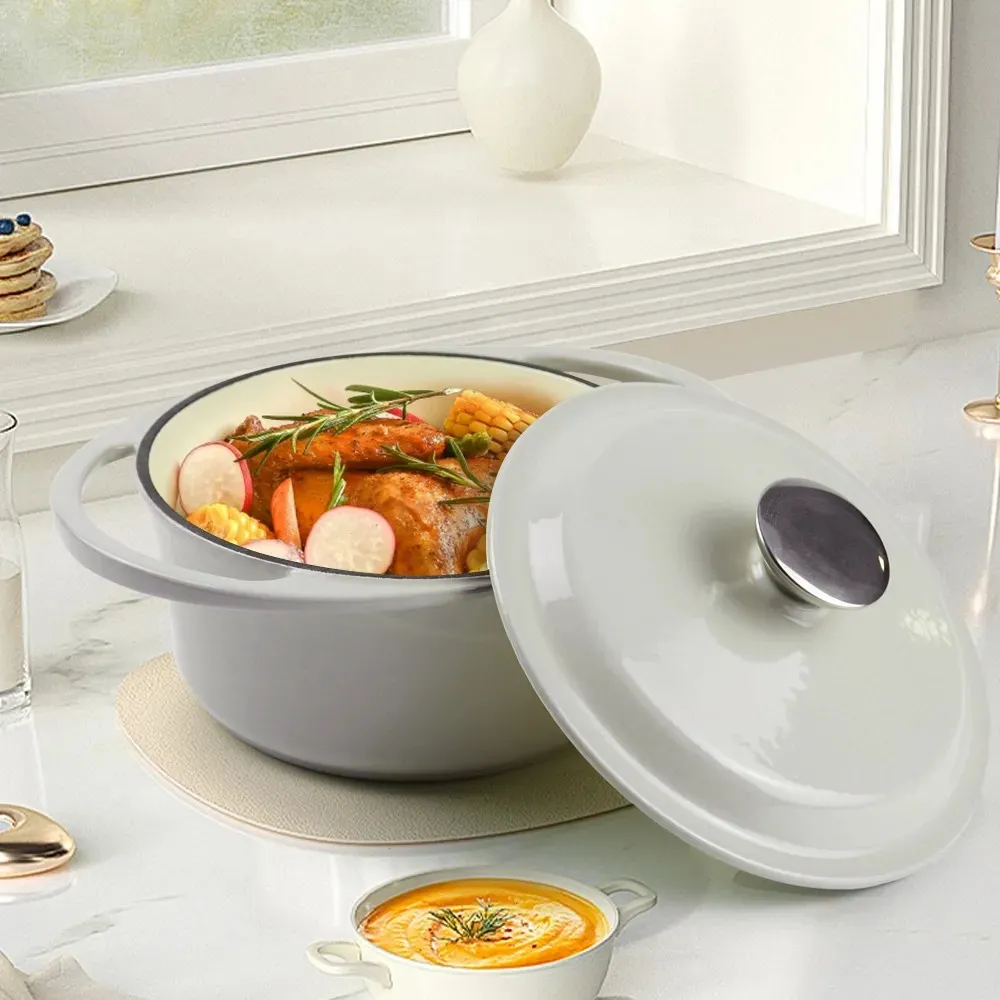
Cookflower enameled cast iron cookware is designed for steady heat and versatile everyday cooking.
Start by understanding how enameled cast iron works
The enamel coating protects the cooking surface
The enamel coating is a durable, nonporous layer fused to the cast iron body. It helps prevent food from contacting bare iron and makes the cookware suitable for acidic ingredients such as tomatoes, wine, citrus, and vinegar.
No routine seasoning is required.
Acidic foods can be cooked safely when the enamel is intact.
The surface resists food odors and staining better than bare cast iron.
The cookware can move from the stovetop to the oven when the manufacturer's instructions allow it.
The heavy body holds heat well and reduces temperature fluctuations.
The cookware still needs careful heat control
Enameled cast iron heats more slowly than thin stainless steel or aluminum. Once hot, it stays hot for a long time. Begin with low or medium heat, allow the pan to warm gradually, and avoid using high heat to speed up preheating.
The enamel is strong during normal cooking, but sudden temperature changes, metal impact, and overheating can cause discoloration, chips, or cracks. Proper handling is more important than using maximum heat.
Gather the tools before you begin cooking
Required tools for basic cooking
Enameled cast iron Dutch oven, skillet, braiser, or saucepan.
Stovetop, oven, or other approved heat source.
Wooden, silicone, or heat-resistant nylon spatula.
Wooden or silicone spoon for stirring.
Heat-resistant oven mitts or pot holders.
Cutting board and chef's knife.
Measuring cups and spoons.
Cooking oil or another suitable fat.
Kitchen tongs with silicone tips.
Cooling rack or heat-resistant trivet.
Useful optional tools
Instant-read thermometer for meat and poultry.
Kitchen scale for consistent recipes.
Wooden scraper for loosening browned food.
Soft nylon brush for cleaning the interior.
Parchment paper for baking applications.
Induction diffuser if the cookware manufacturer recommends one for your cooktop.
Large silicone lid handle or replacement knob rated for the planned oven temperature.
Check the cookware before using it
Remove all packaging, labels, and protective inserts.
Inspect the interior and exterior for chips, cracks, rough edges, or loose hardware.
Wash the cookware with warm water, mild dish soap, and a soft sponge.
Rinse away all soap residue.
Dry the cookware completely with a clean towel.
Read the manufacturer's instructions for oven, stovetop, dishwasher, broiler, and lid temperature limits.
Follow these steps for your first meal
First step: choose a simple recipe
Start with a forgiving recipe such as vegetable soup, chicken thighs, a small stew, baked pasta, or a one-pot rice dish. These recipes help you learn how the cookware responds to heat without requiring advanced technique.
Prepare and measure all ingredients before turning on the heat. Enameled cast iron retains heat, so ingredients should be ready before the pan becomes hot.
Second step: preheat gradually
Place the clean, dry cookware on a suitable burner.
Add a small amount of oil if the recipe requires it.
Set the burner to low or medium heat.
Allow the cookware to warm for several minutes.
Do not leave an empty pan over high heat.
A properly preheated pan should feel warm when you hold your hand several inches above it. Do not test the surface with water, because water can splatter and sudden cooling can stress the enamel.
Third step: add the ingredients in stages
Add the oil or cooking fat after the pan has begun to warm.
Add dry ingredients when possible to encourage browning.
Place ingredients in a single layer when searing meat or vegetables.
Leave space between pieces so moisture can escape.
Allow the first side to brown before turning the food.
Reduce the heat if the oil smokes or the food darkens too quickly.
Because enameled cast iron holds heat, the pan may continue browning food even after the burner is reduced. Adjust the heat early instead of waiting until the ingredients burn.
Fourth step: build flavor with fond
Browned bits left on the bottom of the pan are called fond. After searing, add a small amount of water, stock, wine, or another recipe-approved liquid. Scrape gently with a wooden or silicone utensil.
Remove heavily browned or finished ingredients if necessary.
Reduce the burner to low or medium-low.
Add the deglazing liquid carefully to avoid splashing.
Gently loosen the fond from the bottom.
Add aromatics, vegetables, herbs, or spices.
Fifth step: simmer without boiling aggressively
Bring soups, sauces, and braises to a gentle simmer rather than a violent boil. A gentle simmer protects delicate ingredients, reduces splashing, and gives the heavy cookware time to distribute heat evenly.
Use low or medium-low heat after the liquid begins to simmer.
Stir occasionally with a soft utensil.
Keep the lid partially open when reducing a sauce.
Keep the lid closed when retaining moisture for a braise.
Check the bottom regularly when cooking thick foods.
Sixth step: transfer the cookware to the oven safely
Confirm that the pot, lid, knob, and handles are oven safe at the planned temperature.
Use two oven mitts because the entire cookware body becomes hot.
Place the cookware on a stable oven rack.
Keep the cookware away from direct contact with oven heating elements.
Follow the recipe temperature and cooking time.
Use oven mitts when removing the cookware, even if the handles appear cool.
Never place hot enameled cast iron directly on a cold stone countertop, wet surface, or plastic table. Use a dry trivet or cooling rack.
Seventh step: rest and serve carefully
Remove the cookware from the heat source.
Place it on a dry, heat-resistant trivet.
Allow meat to rest before slicing.
Use a ladle or soft serving utensil to protect the enamel.
Transfer leftovers to a separate container when the food has cooled sufficiently.
The cookware remains hot for a long time, so food may continue cooking after the heat is turned off. Account for this carryover heat when preparing delicate vegetables, eggs, fish, and sauces.
Use the right heat for each cooking method
Searing meat and vegetables
Use medium heat and a small amount of oil. Dry the food before adding it, because surface moisture prevents browning. Avoid moving the food repeatedly. Allow it to form a crust before turning it.
Dry the ingredients with a clean towel.
Preheat gradually.
Add oil after the pan is warm.
Sear in batches if the pan is crowded.
Reduce heat if the oil smokes.
Braising and slow cooking
Braising is one of the best uses for enameled cast iron. Sear the main ingredient first, add aromatics and liquid, cover the cookware, and finish at a low stovetop setting or in a moderate oven.
Sear the meat or vegetables.
Remove them temporarily if the pan becomes crowded.
Cook onions, garlic, carrots, celery, or other aromatics.
Deglaze the pan.
Return the main ingredients.
Add enough liquid to partially cover the food.
Cover and cook slowly until tender.
Soup, beans, and grains
Start with medium heat to bring the liquid to temperature, then reduce to low heat. Stir thick foods more often because they can settle on the bottom even when the surface appears calm.
Do not fill the cookware beyond the manufacturer's recommended capacity. Extra space helps prevent boiling liquid from spilling and allows ingredients to cook evenly.
Baking bread and desserts
Many enameled cast iron Dutch ovens can be used for bread, cobblers, cakes, and baked pasta. Check the maximum oven temperature for the lid, knob, and handles before baking.
Preheat only when the cookware is rated for the method.
Use parchment paper when a recipe requires easy removal.
Avoid sudden temperature changes after baking.
Place the hot cookware on a dry trivet.
Allow the cookware to cool before washing.
Clean and maintain the enamel after every use
First step: cool the cookware naturally
Allow the cookware to cool gradually before adding water. Do not pour cold water into a hot Dutch oven or place a hot pan in a sink filled with cold water. Thermal shock can damage the enamel.
Second step: wash with mild soap
Remove loose food with a wooden or silicone utensil.
Fill the cookware with warm water and a small amount of mild dish soap.
Let it soak for 15 to 30 minutes if food is stuck.
Clean the surface with a soft sponge or soft nylon brush.
Rinse thoroughly.
Dry completely before storage.
Third step: remove stubborn stains gently
For light discoloration, make a paste with baking soda and water. Apply the paste to the stained area, allow it to sit briefly, and wipe it away with a soft sponge.
For burnt food, add warm water and a small amount of baking soda to the cookware. Simmer the mixture gently for several minutes, allow it to cool, and loosen the residue with a wooden scraper.
Do not use steel wool.
Do not use sharp knives to scrape the enamel.
Do not use abrasive powders unless the manufacturer approves them.
Do not use bleach to remove normal cooking stains.
Fourth step: store the cookware safely
Dry the cookware fully before putting it away.
Place a soft cloth or pan protector between stacked pieces.
Store lids slightly separated when possible to improve airflow.
Keep the cookware in a dry cabinet.
Do not drag the cookware across glass or ceramic cooktops.
Avoid these common beginner mistakes
Using high heat to preheat an empty pan
High heat can create hot spots and may damage the enamel. Enameled cast iron performs well at low and medium settings because it retains heat efficiently.
Heating the cookware too quickly
Moving directly from a cold pan to maximum heat increases thermal stress. Heat the cookware gradually and reduce the burner once the food begins cooking.
Adding cold liquid to a hot pan
Cold stock, water, or wine can create a sudden temperature change. Use room-temperature or warm liquid when practical, and add it slowly.
Using metal utensils carelessly
Metal utensils can scratch, chip, or impact the enamel. Choose wood, silicone, or nylon tools. If a metal tool is specifically approved, use it gently without scraping or striking the surface.
Overcrowding the cooking surface
Too many ingredients release moisture and lower the surface temperature. Sear meat and vegetables in batches to achieve better browning.
Leaving food in the cookware for long-term storage
The enamel is suitable for acidic foods, but long storage can cause stains, odors, or changes in taste. Move leftovers to food-safe storage containers after cooling.
Putting hot cookware into cold water
This is one of the most damaging cleaning habits. Always let the cookware cool naturally before washing it with warm water.
Ignoring chipped enamel
Inspect the cooking surface regularly. Stop using cookware with deep chips, cracks, or exposed areas that may continue to deteriorate. Contact the manufacturer for guidance about repair or replacement.
Choose the right enameled cast iron cookware
Select the capacity based on household size
Small cookware is suitable for sauces, side dishes, and meals for one or two people.
Medium cookware is practical for soups, stews, braises, and family meals.
Large cookware is useful for batch cooking, entertaining, bread baking, and meal preparation.
A larger pot is not always better. Heavy cookware becomes difficult to lift when filled, so choose a size that can be handled safely with two hands.
Check the construction and finish
When comparing cookware, examine the enamel consistency, rim finish, lid fit, handles, base, and interior surface.
Look for an even interior enamel coating.
Check that the lid sits securely without excessive movement.
Choose wide handles that are easy to grip with oven mitts.
Confirm compatibility with gas, electric, ceramic, and induction cooktops.
Verify the oven temperature limit for the complete product.
Review cleaning, warranty, and replacement-part policies.
Consider the needs of wholesale buyers
Restaurants, retailers, hospitality businesses, and distributors should evaluate more than the appearance of a single pot. Consistent manufacturing and reliable supply are essential when purchasing multiple units.
Product capacity and dimensions.
Unit weight and carton weight.
Interior and exterior enamel color options.
Packaging protection during international shipping.
Logo, color, and packaging customization.
Minimum order quantity.
Sample approval process.
Production lead time.
Quality inspection standards.
Replacement and after-sales support.
Cookflower can help buyers compare enameled cast iron cookware for home use, food service, retail distribution, and Dutch Oven Wholesale programs. Ask for product specifications and care instructions before placing a large order.
Use this simple beginner cooking routine
A reliable routine for most recipes
Read the recipe completely.
Prepare and measure all ingredients.
Inspect and clean the cookware.
Warm the cookware gradually over low or medium heat.
Add oil or fat when the pan is warm.
Sear ingredients in batches when needed.
Add aromatics and cook until fragrant.
Deglaze with an appropriate liquid.
Add the remaining ingredients.
Reduce the heat and simmer gently.
Transfer the cookware to the oven if the recipe requires it.
Check doneness with a timer or thermometer.
Remove the cookware with oven mitts.
Rest the food and serve with soft utensils.
Cool, wash, dry, and store the cookware correctly.
Test your heat before cooking a full meal
Every cooktop behaves differently. Test the pan with a small amount of oil and one vegetable piece before preparing a full batch. If the oil smokes immediately, lower the heat and allow the pan to cool slightly. If the food does not sizzle gently, increase the heat in small steps.
This gradual approach helps beginners learn the cookware without burning ingredients or damaging the enamel.
Cook with confidence and protect your investment
Enameled cast iron is easy to use when you remember four principles: heat gradually, cook mostly over low or medium heat, use soft utensils, and avoid sudden temperature changes. The cookware can support daily meals for many years when it is cleaned gently and stored properly.
For home cooks and professional buyers, Cookflower offers a practical way to evaluate enameled cast iron quality, design, customization, and supply capability. Whether you need one dependable Dutch oven or a larger Dutch Oven Wholesale order, choose cookware with a consistent enamel finish, clear temperature guidance, secure handles, and dependable after-sales support.