News
Sep. 17, 2026
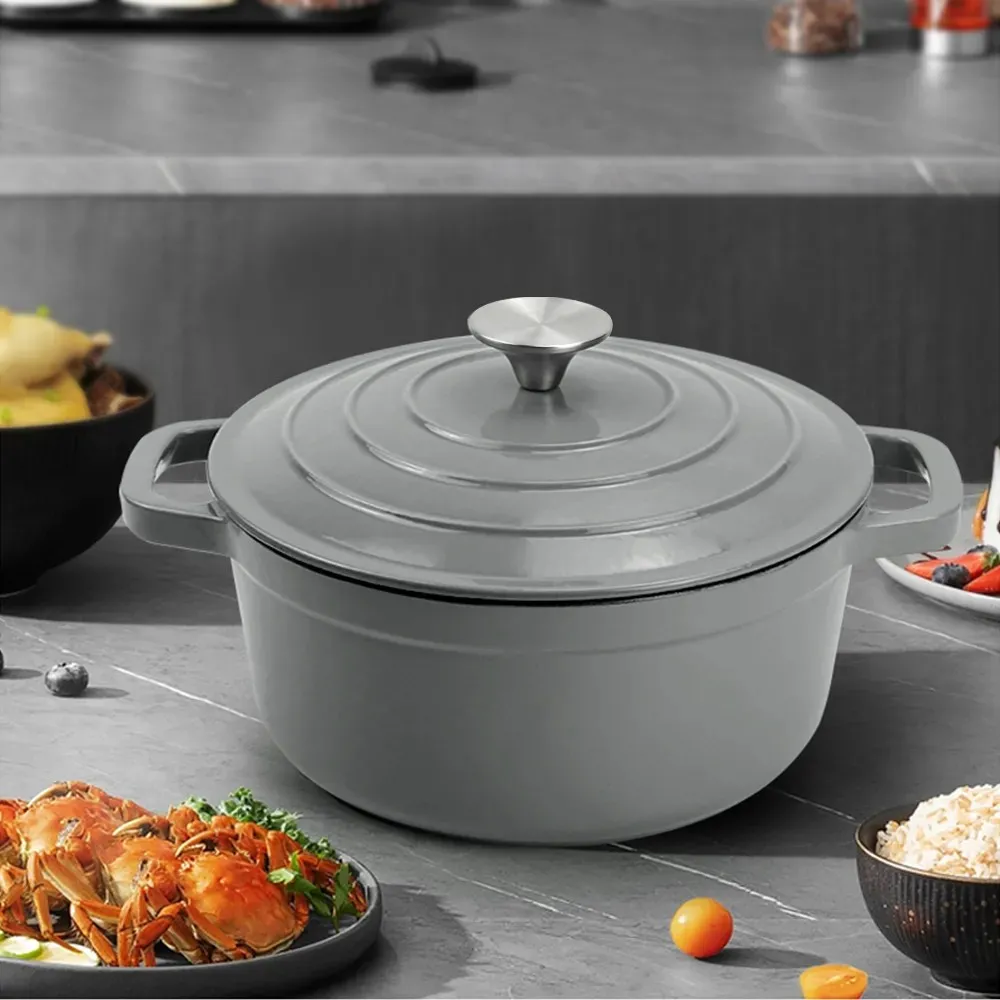
Learning How to Make Better Stews in a Cast Iron Dutch Oven becomes much easier when you control five variables: heat, browning, moisture, cooking time, and seasoning. In this practical guide, I’ll show you how to prepare richer, more tender stews in a Cookflower Enameled Cast Iron Casserole, avoid common cooking failures, and create a repeatable process suitable for home kitchens, restaurants, catering operations, and Dutch Oven Wholesale buyers.

A cast iron Dutch oven has high thermal mass. It heats gradually, retains heat efficiently, and distributes cooking energy steadily across the base and sidewalls. This is especially valuable for braising and stewing, where ingredients need consistent low-temperature cooking rather than rapid boiling.
A Cookflower Enameled Cast Iron Casserole offers several practical advantages:
For professional buyers comparing products for Dutch Oven Wholesale, these features can improve batch consistency, reduce pan changes, and support standardized recipes.
Before cooking, prepare the ingredients and tools. A reliable setup prevents interruptions and improves process control.
For commercial kitchens, add a ladle, portion scale, probe thermometer, and batch-production worksheet.
Use the following starting ratio for approximately 4–6 servings:
| Ingredient | Suggested Quantity | Purpose |
|---|---|---|
| Stewing meat | 1–1.2 kg | Main protein |
| Aromatic vegetables | 400–500 g | Flavor base |
| Cooking liquid | 700–900 ml | Braising medium |
| Root vegetables | 500–700 g | Texture and body |
| Fat or oil | 30–45 ml | Browning and flavor transfer |
| Thickener | Optional, 15–30 g | Sauce viscosity |
| Salt | Adjust gradually | Seasoning control |
Keep meat pieces close to 4–5 cm. Consistent dimensions promote even heat penetration and reduce the risk of having some pieces dry while others remain tough.
Pat the meat dry with paper towels before seasoning. Surface moisture creates steam, which prevents the Maillard reaction and produces pale, boiled meat instead of a deep, savory crust.
Season the meat with salt and pepper immediately before searing or up to several hours ahead. If seasoning in advance, refrigerate it in a covered container and allow the surface to dry slightly before cooking.
For a repeatable result:
Cast iron should be preheated progressively. Place the Cookflower Dutch oven over medium heat for several minutes, then add the oil. Avoid heating an empty enameled vessel over very high heat, as thermal shock can damage the enamel surface.
The oil should appear fluid and lightly shimmer, but it should not produce heavy smoke. A practical target for searing is approximately 180–205°C, depending on the oil and ingredient.
A cast iron Dutch oven retains heat strongly. Once it becomes too hot, reducing the burner may not lower the cooking temperature immediately. Moderate preheating gives you better thermal control.
Place the meat in a single layer, leaving space between pieces. Sear each side for approximately 2–4 minutes, or until a brown crust develops.
Do not move the meat continuously. Allowing it to remain undisturbed helps create contact browning and develops fond—the caramelized residue that forms on the bottom of the vessel.
If the meat releases liquid and begins to simmer, the pan is overcrowded. Remove the meat, allow the Dutch oven to recover heat, and continue in smaller batches.
Remove the browned meat and place it on a clean tray. Do not return it to the pot until the liquid stage.
Lower the heat to medium or medium-low. Add onions, carrots, celery, garlic, or other aromatics to the remaining fat.
Cook for approximately 6–10 minutes, stirring periodically. The vegetables should soften and develop color without burning.
At this stage, you can add:
Spices can burn quickly in a hot Dutch oven. Add them after the vegetables have released some moisture, or briefly toast them in the fat and immediately proceed to deglazing.
Pour in wine, stock, beer, or water while scraping the base with a wooden spatula. This step dissolves the fond and transfers concentrated flavor into the sauce.
Allow the liquid to reduce for approximately 3–5 minutes. Reduction removes harsh alcohol notes and concentrates the aromatic profile.
For an Enameled Cast Iron Casserole, use non-abrasive utensils. Metal tools can scratch the enamel coating and compromise long-term surface performance.
Return the seared meat to the pot. Add enough cooking liquid to cover approximately two-thirds to three-quarters of the meat, rather than fully submerging every ingredient.
Overfilling may produce a thin sauce and reduce the braising effect. Too little liquid can cause scorching during a long cook.
Suitable liquids include:
Bring the liquid to a gentle simmer. Avoid a vigorous boil, which can toughen meat fibers and emulsify excess fat into the sauce.
Cover the Dutch oven and transfer it to a preheated oven at approximately 150–165°C. Cook until the meat is fork-tender.
Typical cooking times include:
The exact time depends on meat cut, piece size, liquid volume, and oven calibration. Tenderness—not the clock alone—should determine completion.
For food safety, verify poultry reaches at least 74°C internal temperature, following applicable local food-safety requirements. Tough beef and lamb cuts become tender through collagen conversion over time, so texture remains the primary quality indicator.
Adding all vegetables at the beginning often creates a soft, broken-down texture. For better structure, divide ingredients by cooking time.
For firm root vegetables, add them during the final 45–75 minutes. This helps them retain shape while absorbing the stew’s flavor.
When the meat is tender, remove the lid and assess the liquid. If the sauce is thin, simmer uncovered on the stovetop for 5–15 minutes. Stir carefully to prevent the base from sticking.
Adjust the final profile in small increments:
A basic cornstarch slurry uses one part cornstarch to two parts cold water. Add it gradually while simmering and allow at least 1–2 minutes for the thickening effect to develop.
Rest the stew for 10–15 minutes before serving. This allows the sauce to stabilize and the meat juices to redistribute.
The usual causes are insufficient cooking time, excessively high heat, or an unsuitable cut.
Solution:
This commonly results from too much stock, insufficient reduction, or excessive steam retention.
Solution:
Burning may occur when the Dutch oven is overheated, the liquid is insufficient, or the sauce contains concentrated sugar or tomato.
Solution:
Vegetables break down when they are cut too small or cooked for the full braising period.
Solution:
Flat flavor often comes from inadequate browning, insufficient salt, or a lack of acidity.
Solution:
For buyers evaluating a Cookflower Enameled Cast Iron Casserole, quality control should cover more than appearance. A professional inspection checklist may include:
These standards should be confirmed with the manufacturer because the correct test method depends on the product specification, market, and coating system. For Dutch Oven Wholesale programs, request inspection records, batch traceability, packaging details, and a documented response time—ideally a 24-hour response for quality or logistics inquiries.
A consistent cast iron stew process helps food businesses address several operational problems:
For restaurants, hotels, meal-preparation companies, and importers, Cookflower products can be assessed not only by unit price but also by thermal performance, defect rate, packaging efficiency, replacement policy, and long-term usability.
| Stage | Temperature or Time | Main Control Point |
|---|---|---|
| Preheat | Medium heat, several minutes | Avoid thermal shock |
| Sear meat | 2–4 minutes per side | Work in batches |
| Sweat aromatics | 6–10 minutes | Prevent scorching |
| Deglaze | 3–5 minutes reduction | Release fond |
| Oven braise | 150–165°C | Maintain gentle heat |
| Add firm vegetables | Final 45–75 minutes | Preserve texture |
| Final reduction | 5–15 minutes | Control viscosity |
| Rest | 10–15 minutes | Stabilize sauce |
To make better stews in a cast iron Dutch oven, begin with dry, evenly cut ingredients and a gradually preheated Cookflower vessel. Sear the meat in small batches, build the aromatic base, deglaze the fond, control the liquid level, and braise at a low temperature until tender. Add vegetables according to their cooking time, then balance and rest the finished sauce.
Whether you are cooking at home or sourcing products through Dutch Oven Wholesale, a Cookflower Enameled Cast Iron Casserole gives you a practical platform for controlled heat, deep browning, and reliable slow cooking. Use the process above for your next batch, record the cooking time and liquid ratio, and refine the method until every stew delivers consistent flavor, tenderness, and presentation.
Latest News
How to Make Better Stews in a Cast Iron Dutch Oven
Sep. 17, 2026
What Size Dutch Oven Is Best for Baking Bread?
Sep. 16, 2026
How to Clean a Dutch Oven After Everyday Cooking
Sep. 15, 2026
Hot Products